Background
Radix is an open-source decentralised public ledger that is built to support the development of DeFi dapps and other decentralised applications. For consensus, Radix uses a new algorithm called Cerberus, which helps secure the network and allows for a high level of throughput, while ensuring composability. Radix supports its own smart contract execution environment called the Radix Engine instead of EVM, and the Scrypto programming language instead of Solidity. The project wants to position itself as an alternate base layer to Ethereum and alternate L1s, with a key focus on helping DeFi developers in building faster, while minimising errors that could lead to exploits at the same time.
The XRD token is the native utility token of the network. Users can stake their XRD to participate in the PoS consensus, and earn inflationary token rewards.
If you want to learn more about the project, and the XRD token, you can read our guide.
In this article, we’ll focus on onboarding to Radix, and learning how to stake the XRD token.
How to Setup a Radix Wallet
STEP 1: Download the Radix Desktop Wallet
We’ll need this wallet to interact with the Radix ecosystem and stake our XRD
Download the wallet on the system of your choice: https://wallet.radixdlt.com/

STEP 2: Complete the Wallet Setup
Run the desktop application, allow for the various permissions and accept the TOS
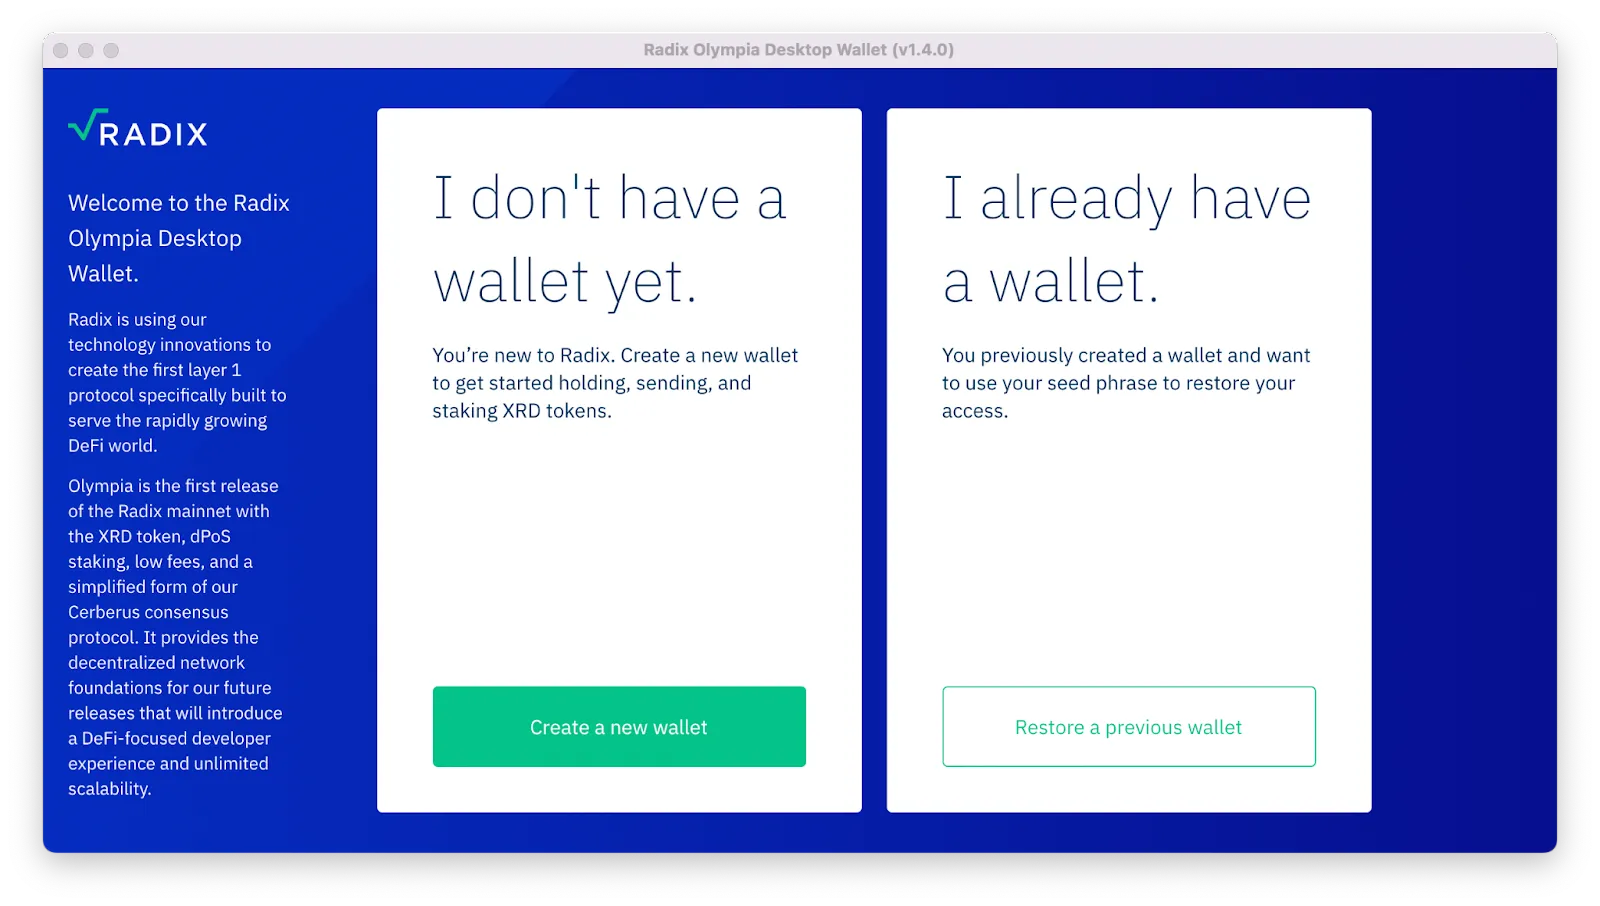
Upon completion, this window should pop up
Select, “Create a new wallet”
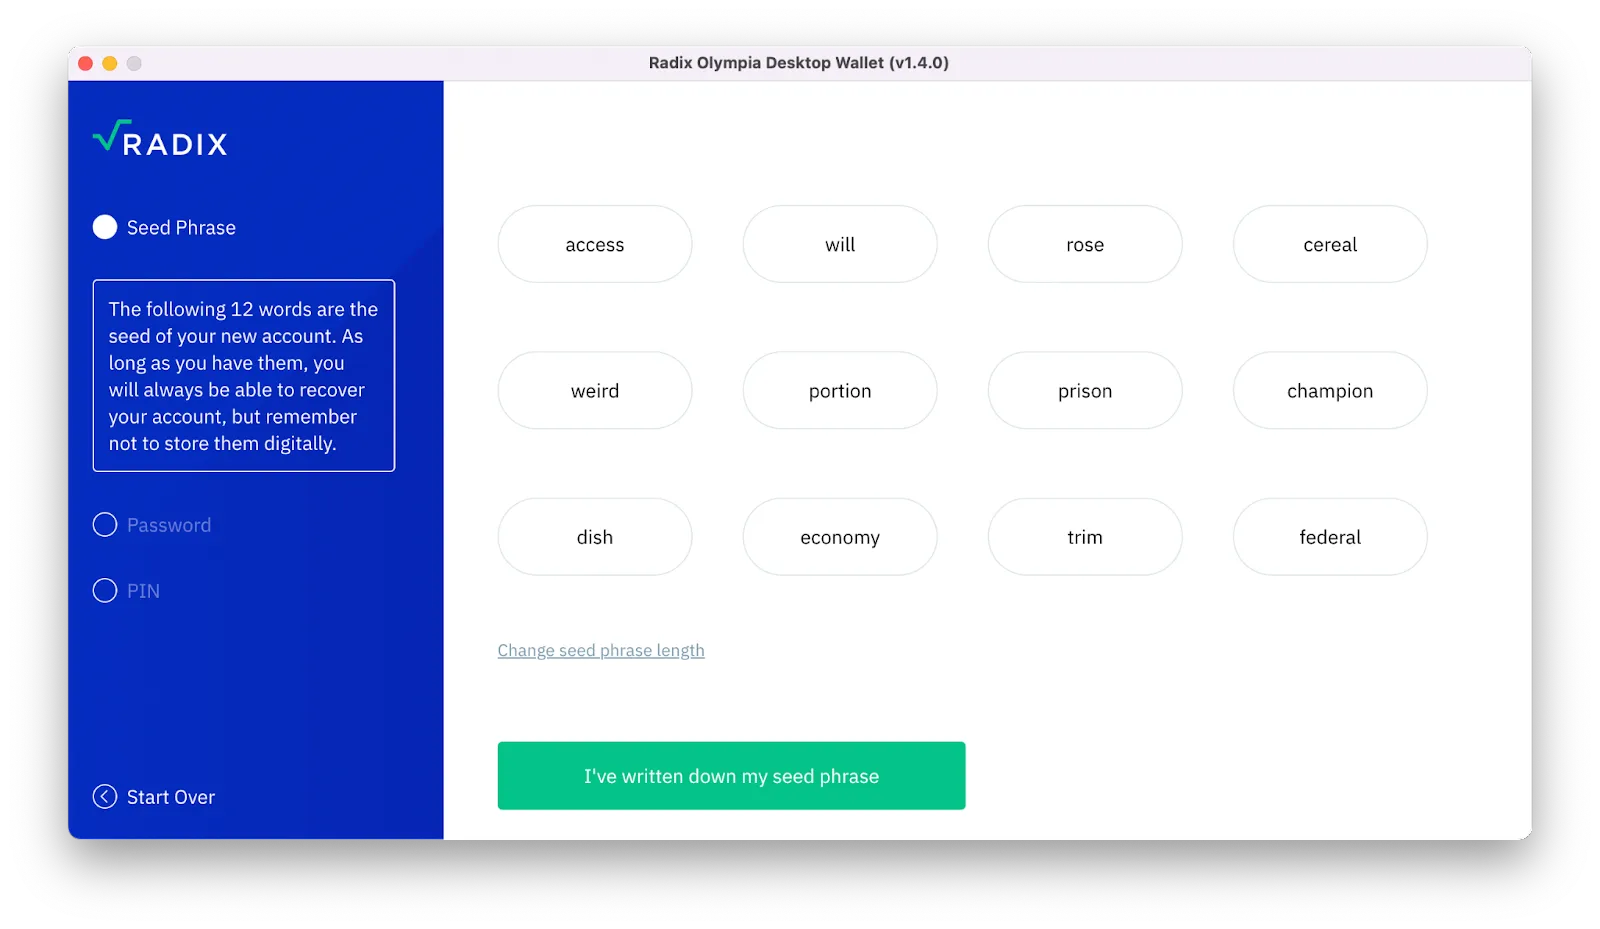
You’ll then be shown your 12-word seed phrase, you can decide to change the seed phrase length and select either 18 or 24 words
Write your seed phrase and safely store it. In the next steps, you will be asked to confirm that you’ve written your seed phrase, set a password for your wallet, and finally set a 4-digit pin for your wallet as well.
You can't use Metamask to interact with the Radix network, you must use a Radix native wallet to stake.
However, you will need Metamask to bridge your eXRD (wrapped Radix) into your Radix Wallet.
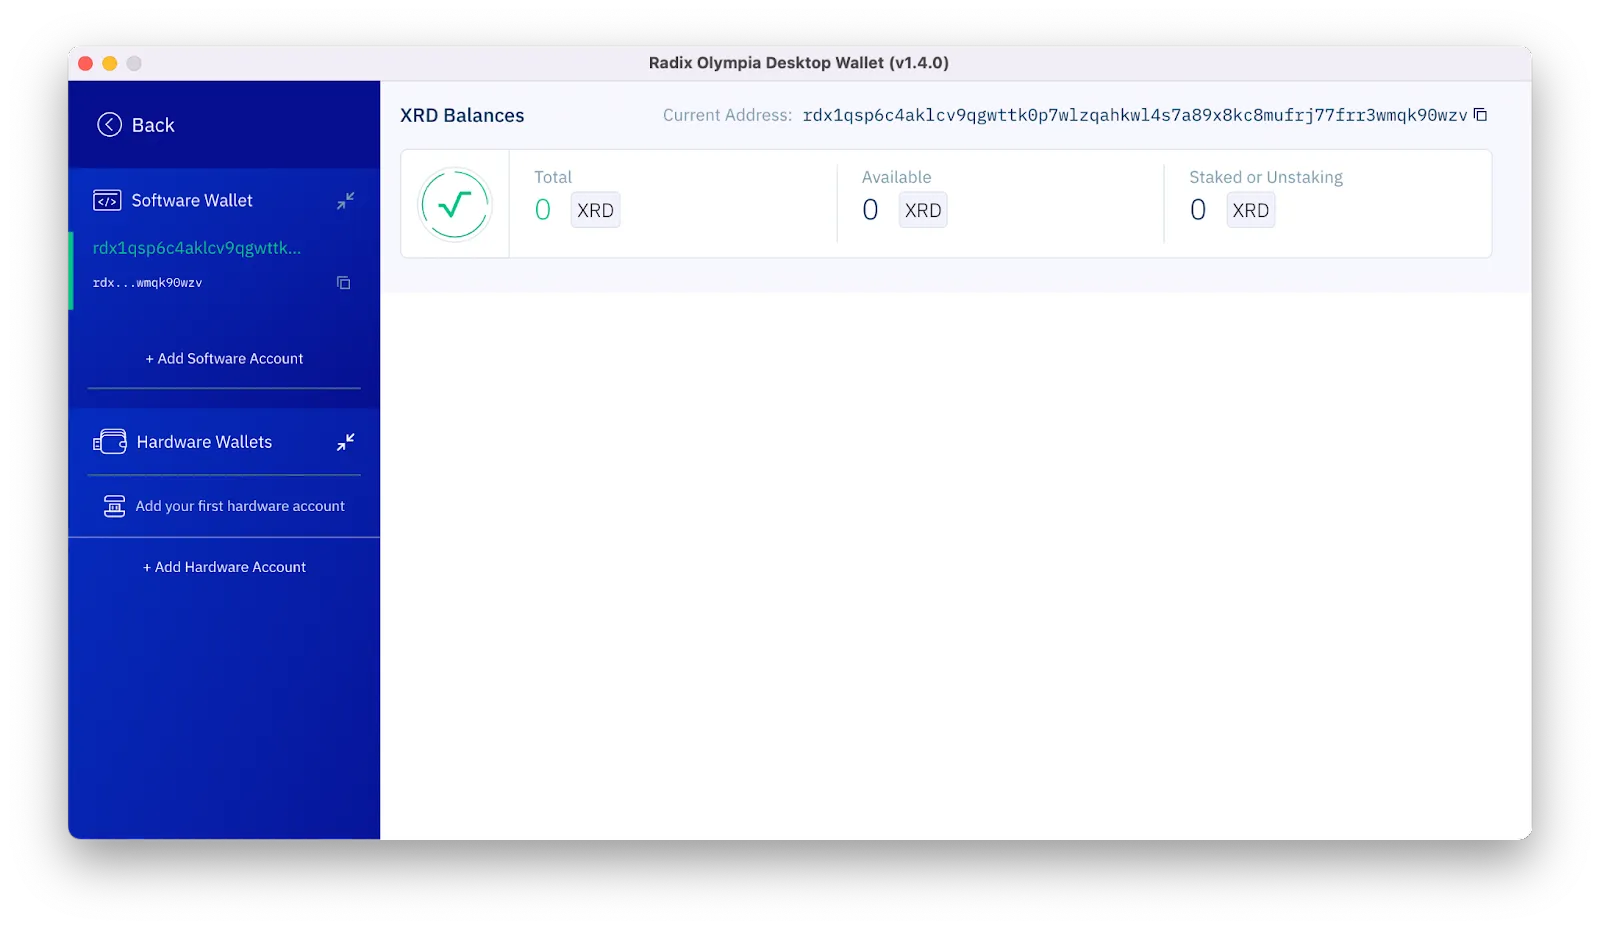
Upon successfully setting up your wallet, you will see this window
STEP 3: Send XRD/eXRD to Your Radix Wallet
To stake XRD, you’ll first need to buy it on a centralised exchange that supports native XRD withdrawals. Alternatively, you can buy wrapped XRD i.e. eXRD on the Ethereum network, and then bridge that over to the Radix Network and subsequently convert the wrapped version into the native version.
XRD can be bought on KuCoin, Bitfinex, Gate, Mexc, and AscendEX. If you want to use a DEX instead, there’s a liquidity pool available on UniSwap V2.
Bitfinex, Gate, Mexc, and AscendEX are some of the centralised exchanges that support native XRD withdrawals.
However, remember that if you buy eXRD on a CEX like KuCoin, you will first need to withdraw it via the Ethereum network to your self-custody wallet like MetaMask, and then bridge it to the Radix Network. So I would recommend you buy the token on a CEX that supports native withdrawals.
Once you have your eXRD in your self-custody Ethereum wallet, or if you bought XRD on one of the centralised exchanges that support native withdrawals, go ahead and copy your Radix wallet address.

Your Radix wallet address will look something like this
Option 1:
If you bought XRD on a centralised exchange that supports native XRD withdrawal on the Radix network, then you can simply execute a normal crypto withdrawal.
Input your Radix wallet address in the recipient wallet field when withdrawing, and make sure Radix is the selected network.
Sponsorship Announcement -
Before we go any further if you are a builder in this space and are hiring a remote-first team take a look at one of our partners below, Deel. They allow you to hire, manage, onboard and pay from anywhere in the world without the hassle. Yes, Deel allows you to pay your team in crypto too…

Link to our partner page: https://www.deel.com/partners/blocmates - This supports the platform at no additional cost to you :)
Option 2:
Personally, trying to bridge eXRD from Ethereum to native XRD on Radix isn’t worth the hassle. I’d recommend you sign up for a supported centralised exchange, and then simply withdraw via the Radix network. Moreover, Bitfinex supports a KYC-less bridge between eXRD and XRD.
However, if you own eXRD in your self-custody wallet on Ethereum, by either buying on UniSwap or buying on a CEX and then withdrawing via the Ethereum network, then follow the below-mentioned steps, however, if you bought on a centralised exchange that supports native withdrawals, then you can skip this section.
Visit: https://www.instabridge.io/
Instabridge will allow you to bridge your eXRD from Ethereum to the Radix Network and convert it into native XRD.
Disclaimer: Unfortunately, Instabridge bridge requires you to complete KYC and is the only available bridge at the moment.

At the moment, Instabridge only supports bridging eXRD from Ethereum to XRD on Radix
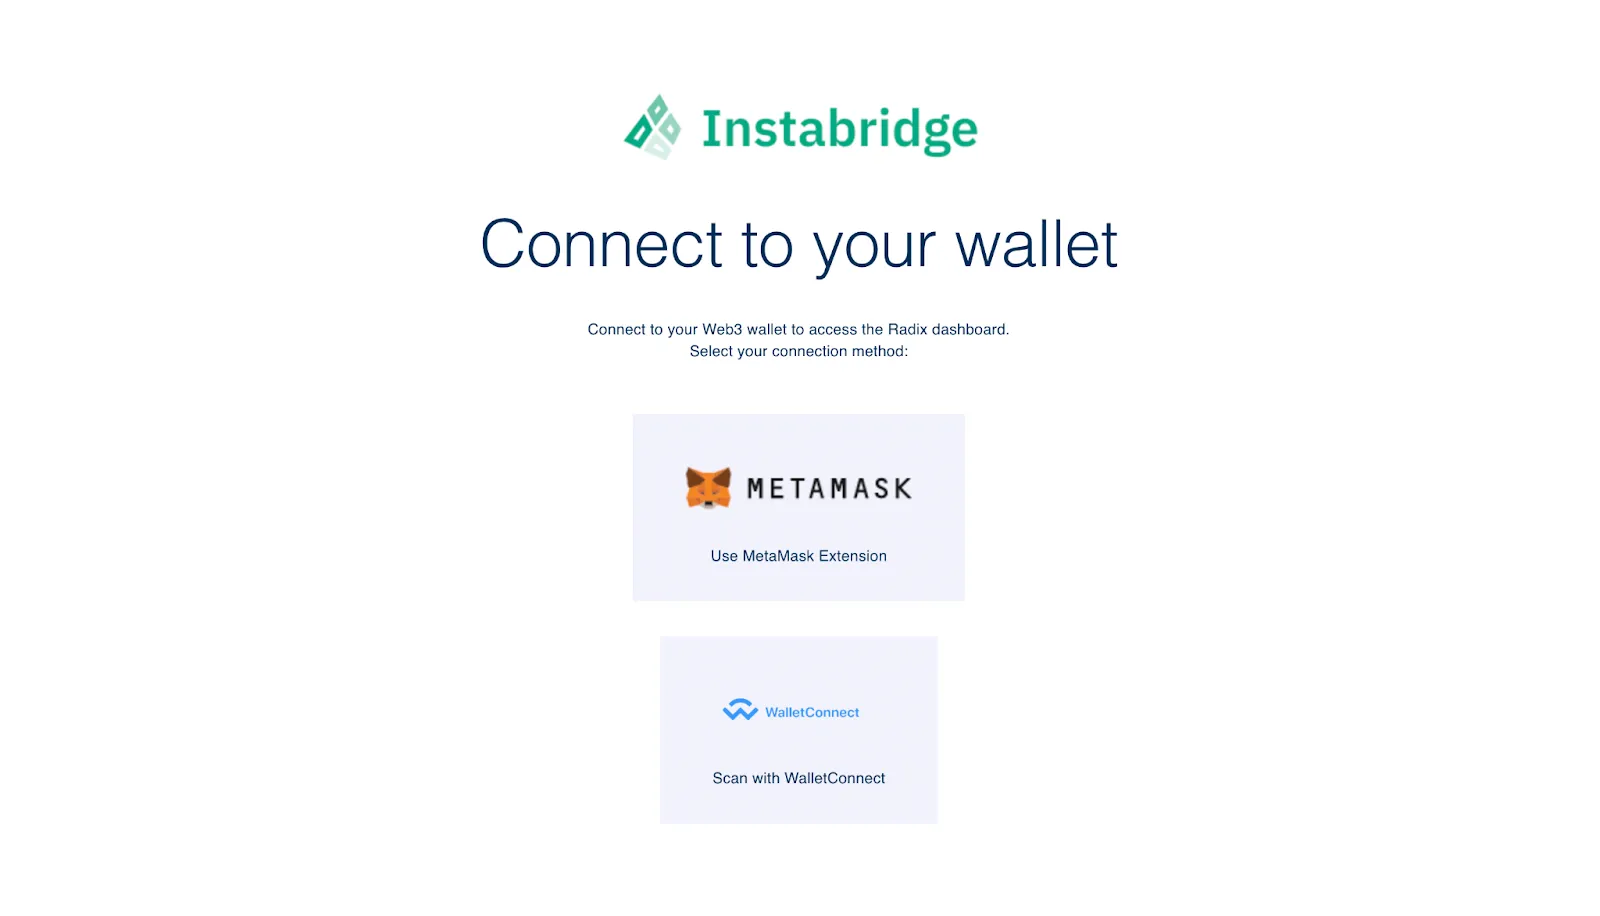
After selecting, “Signup/Login”, you will see this screen. Select MetaMask, agree to the terms & conditions, submit your signature, and then connect your wallet.
Unfortunately, when going through this process, I encountered an error stating, “This address isn’t associated with your Instapass account. You will need to log in there and add it to your account.”
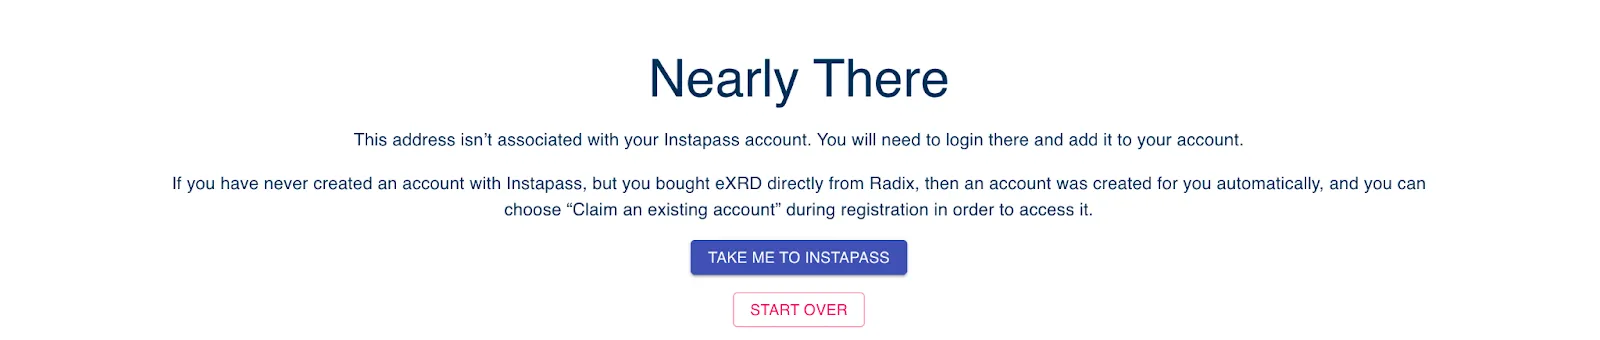
You’re likely to face the same issue, in case you too haven’t signed up for an Instapass account and linked your MetaMask wallet there.
Click on the “TAKE ME TO INSTAPASS” button, and you’ll be redirected to https://www.instapass.io/.
Signup for an Instapass account, verify your email and complete your KYC process.
After signing up for an Instapass account, you will need to complete your KYC before your can bridge your eXRD from Ethereum to XRD on Radix
The KYC process will include verifying your identity, proof of residence and there’ll be some automated checks.
Note that it can take up to 48 hours to verify your KYC details.
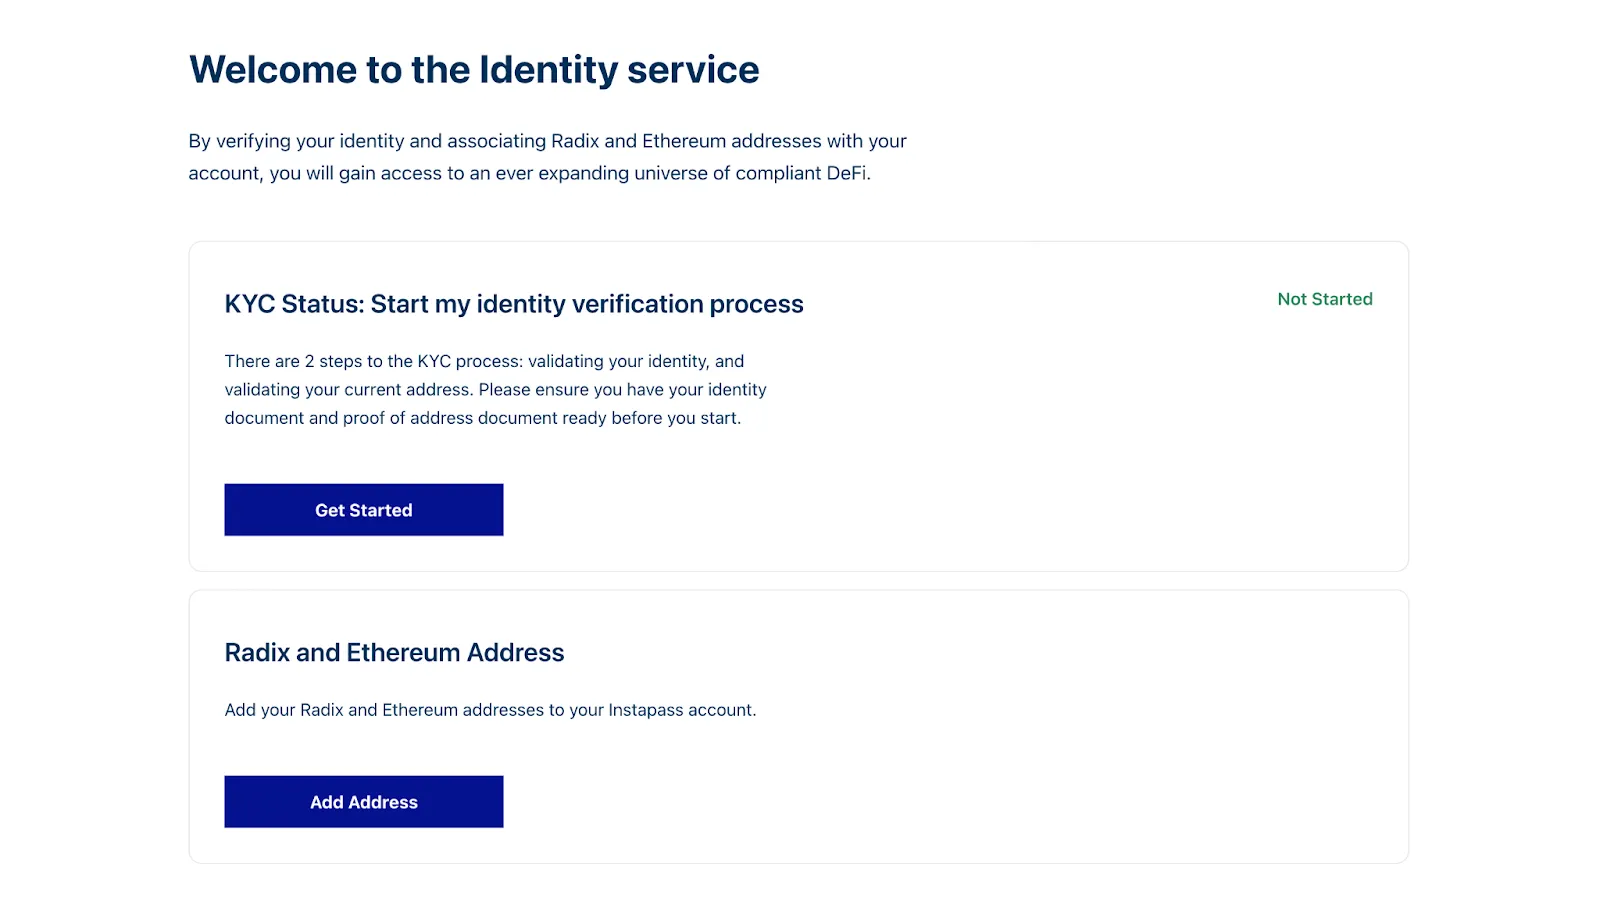
Once you’re done with your KYC, you’ll next need to add and verify your Ethereum and Radix wallets on Instapass.
To add and verify your Ethereum wallet, just ensure that you’re accessing Instapass from the same browser where you have your MetaMask browser extension installed.
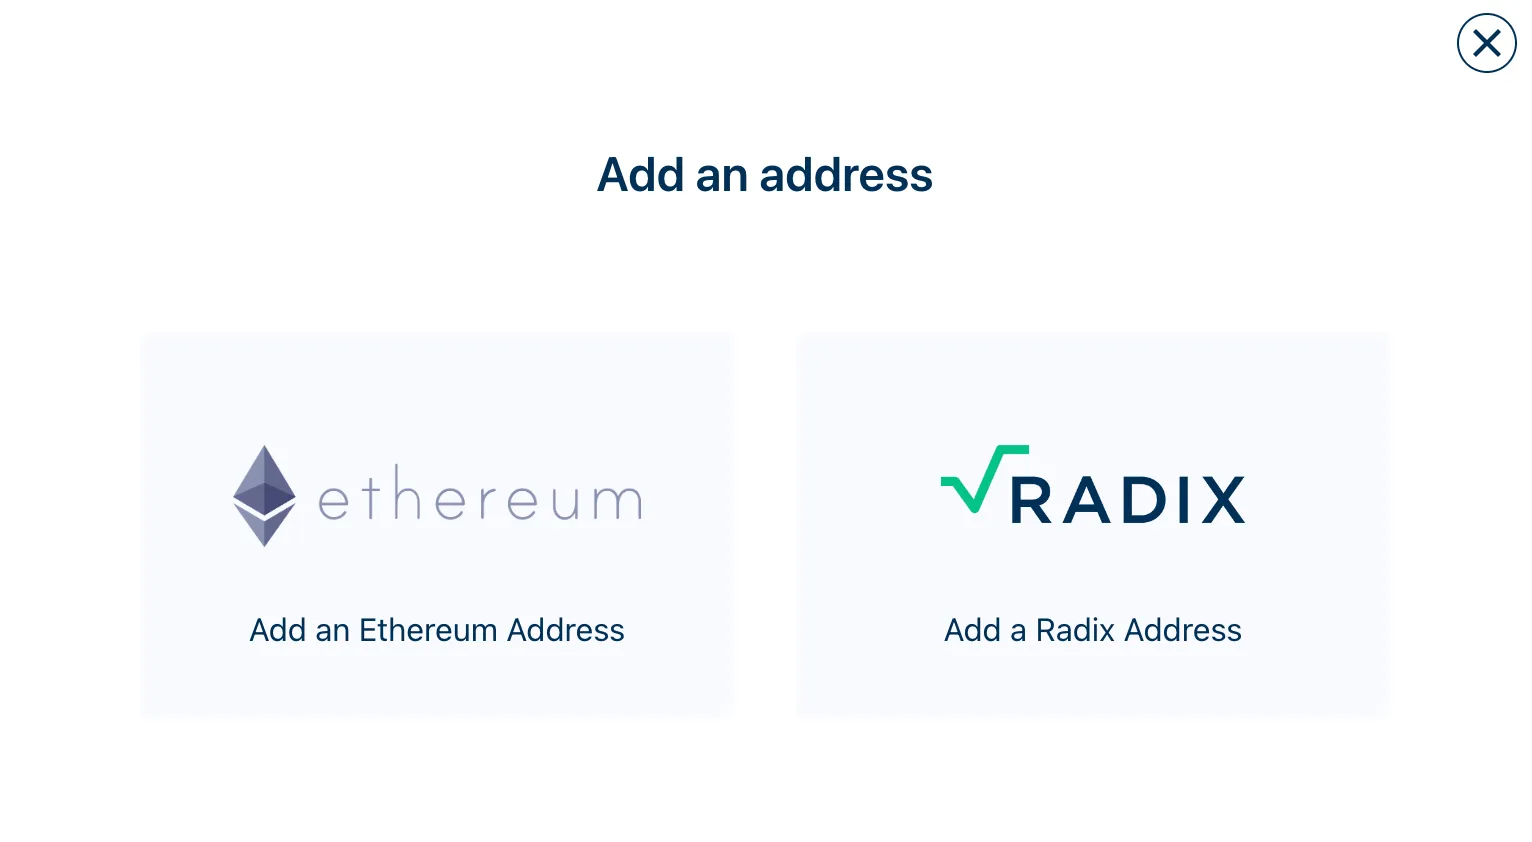
After clicking on, “Add Address” on Instapass, select Ethereum
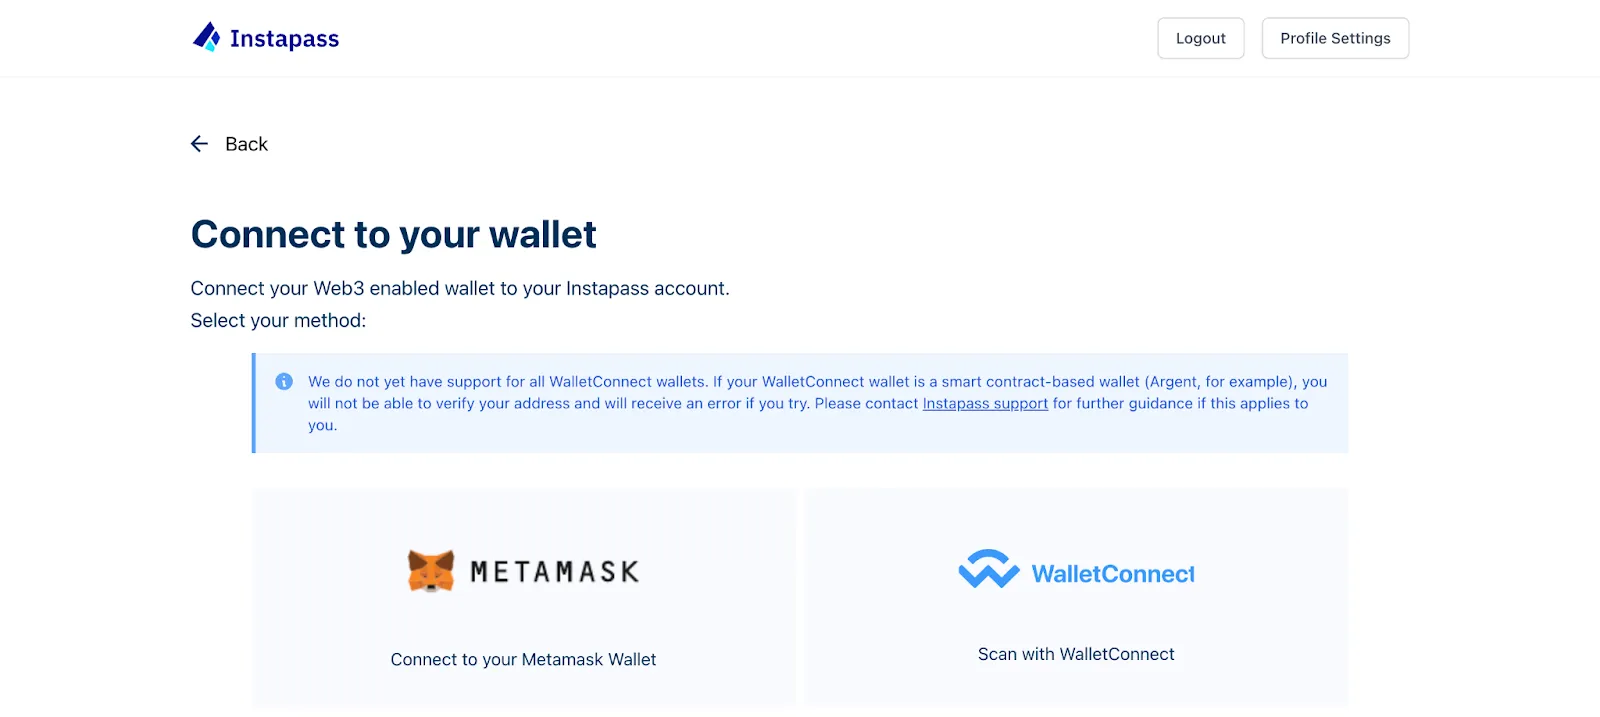
This window will open, select MetaMask
Your MetaMask will open, and ask you to sign a message. Sign that message to verify your wallet.
Consequently, to add your Radix wallet, select, “Radix”, after clicking on, “Add Address” on the main page.
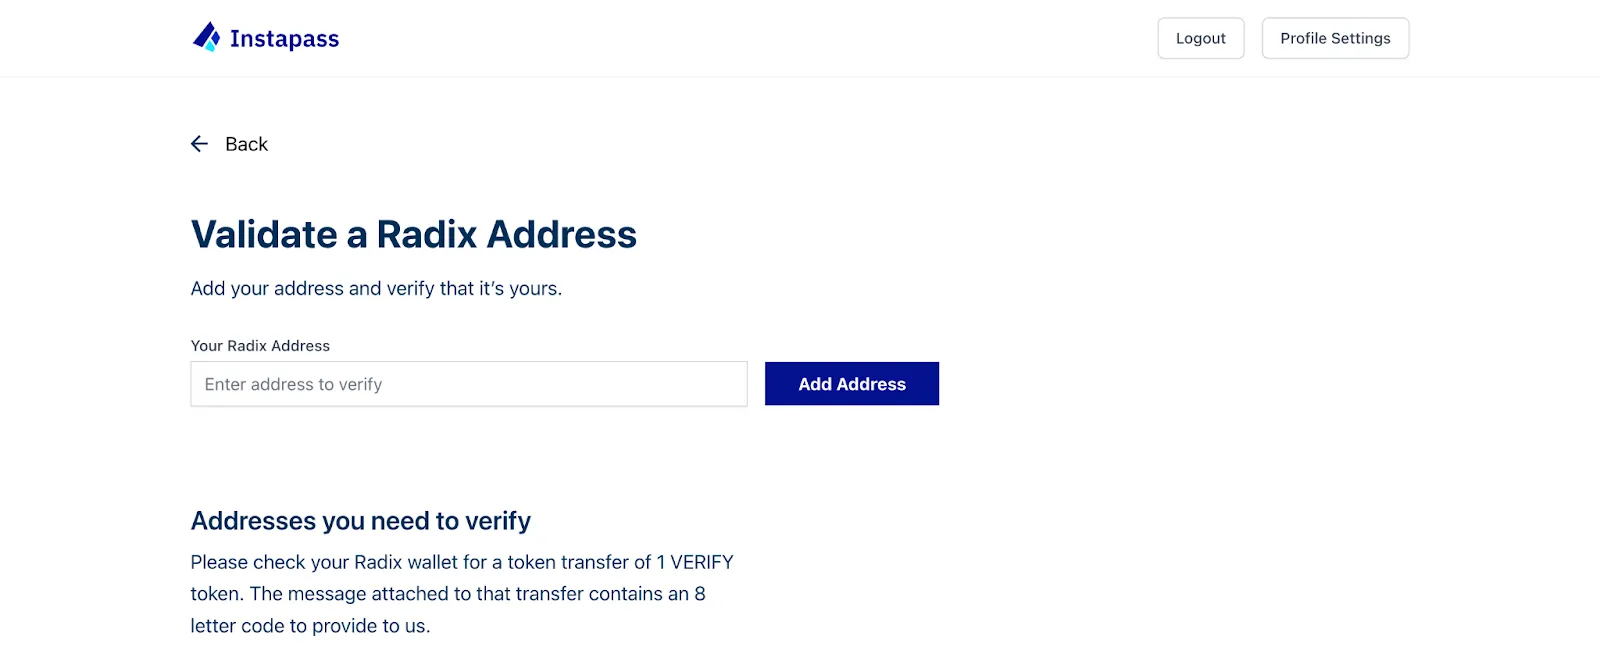
Copy and paste your Radix wallet address in the, “Your Radix Address” tab and select, “Add Address”
Upon adding your Radix wallet, you will receive 1 VERIFY token in your wallet. There’ll be a message attached to that transfer, which you will need to provide to verify your address.
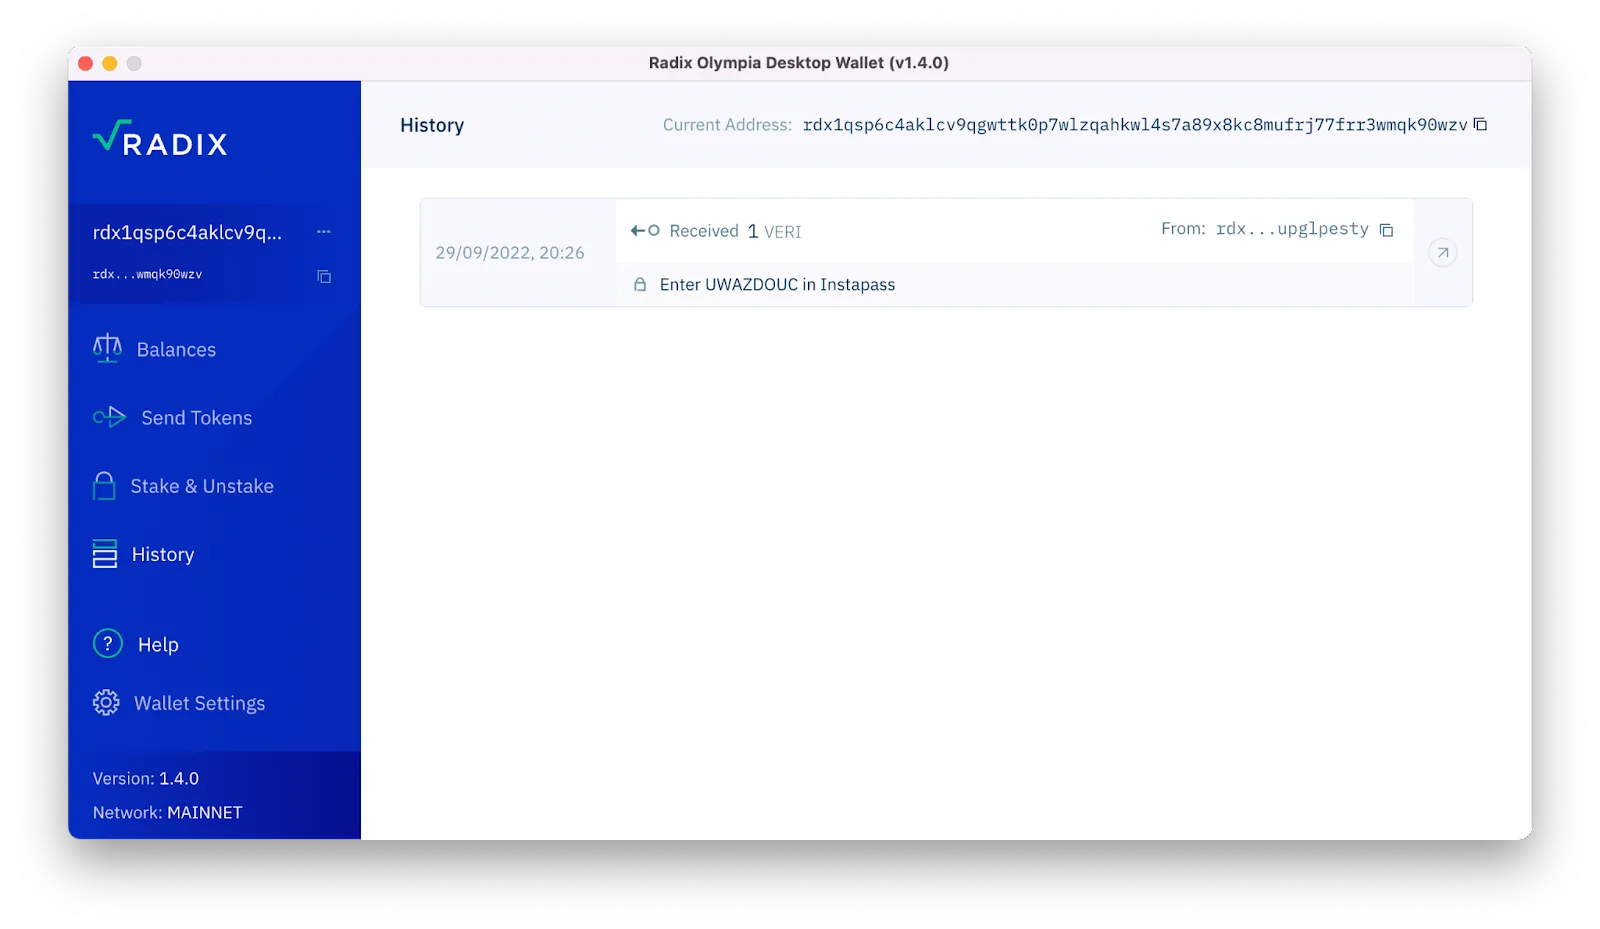
Under the History tab, you will see the transaction for 1 VERIFY token. Click on, “Encrypted message, click to decrypt” to reveal the message. Copy the 8-digit code and provide it on Instapass to verify your Radix wallet.
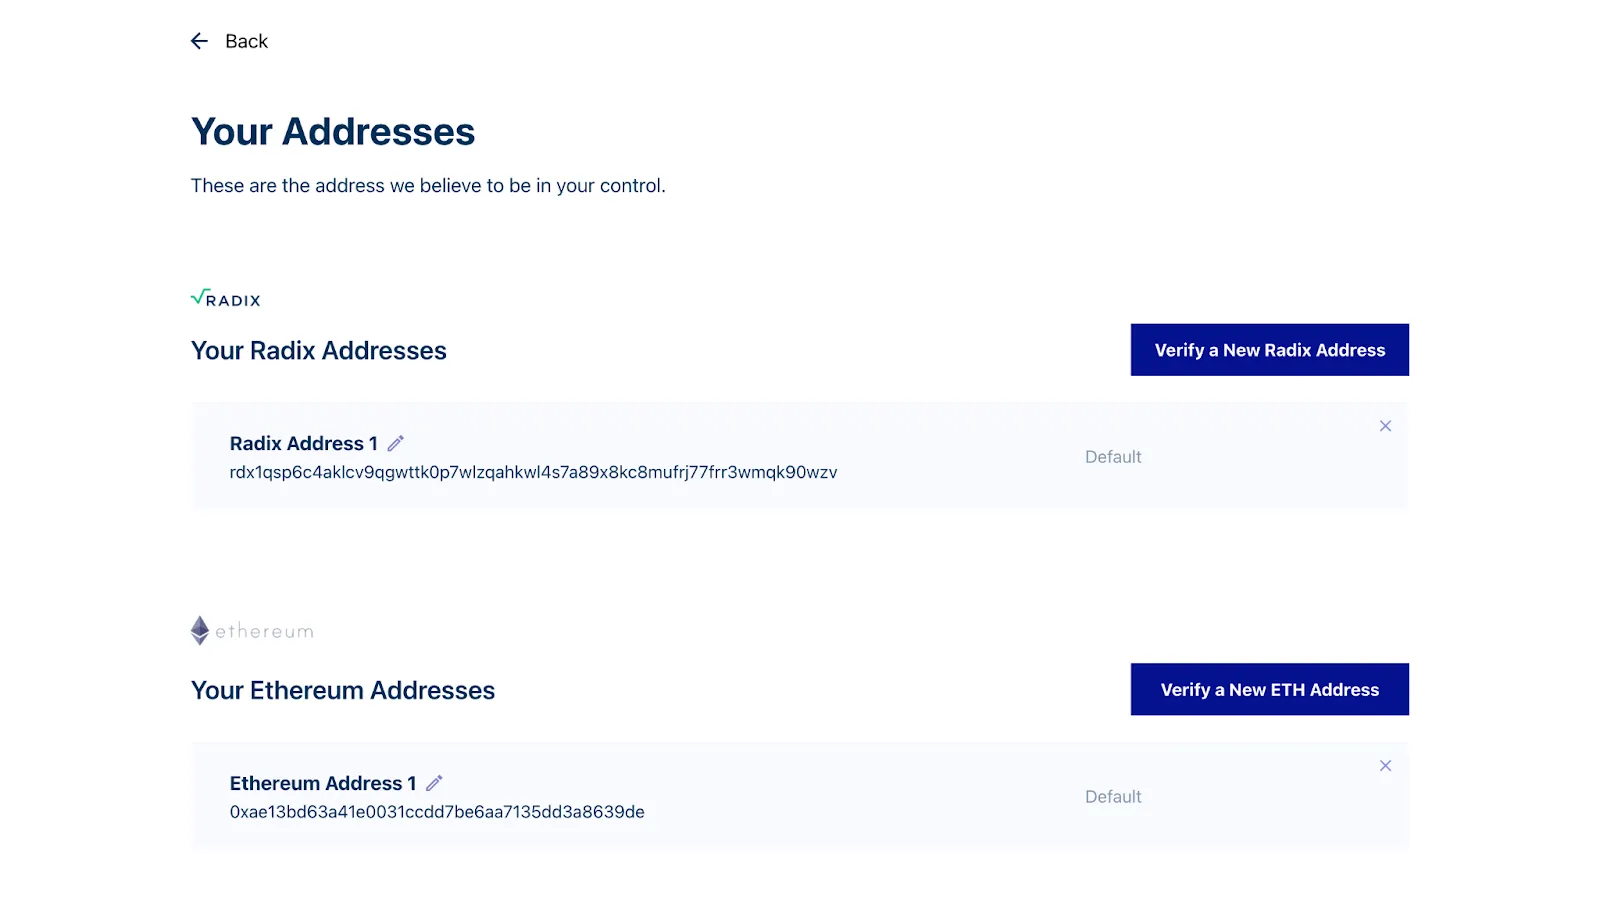
After adding and verifying your Ethereum and Radix wallet address, this is what you’ll see on Instapass
After completing your KYC process, and adding your Ethereum and Radix wallet addresses on Instapass, you will be able to connect to Instabridge and be able to bridge your eXRD to native XRD on the Radix network.
How to Stake Radix XRD
Upon successfully bridging the token via Instabridge or withdrawing to your Radix wallet via a supported centralised exchange, you will see the appropriate balance of XRD in your Radix wallet.
Click on the “Stake & Unstake” tab in the wallet application.
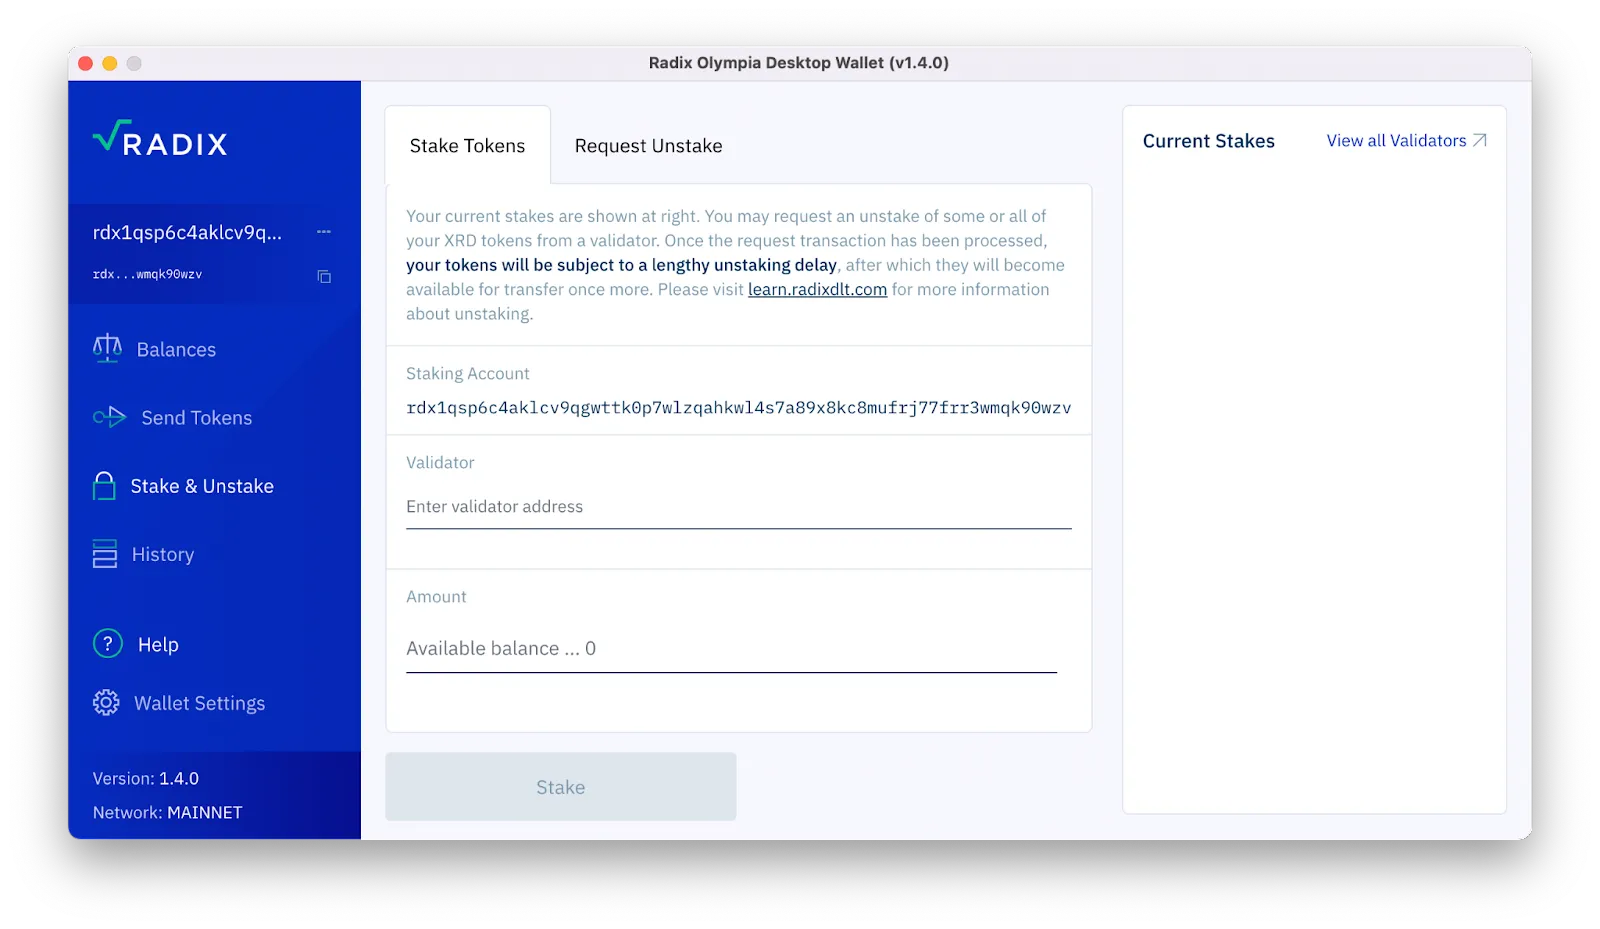
Here, unlike me, you’ll have the balance of your XRD tokens
Click on the, “View all Validators” link to view the list of validators you can delegate your stake. Remember, Radix uses a delegated PoS consensus mechanism. To participate in it as a delegator, you will have to delegate your stake to an existing validator.
However, if you’re interested in running your validator node, you can find more details here.
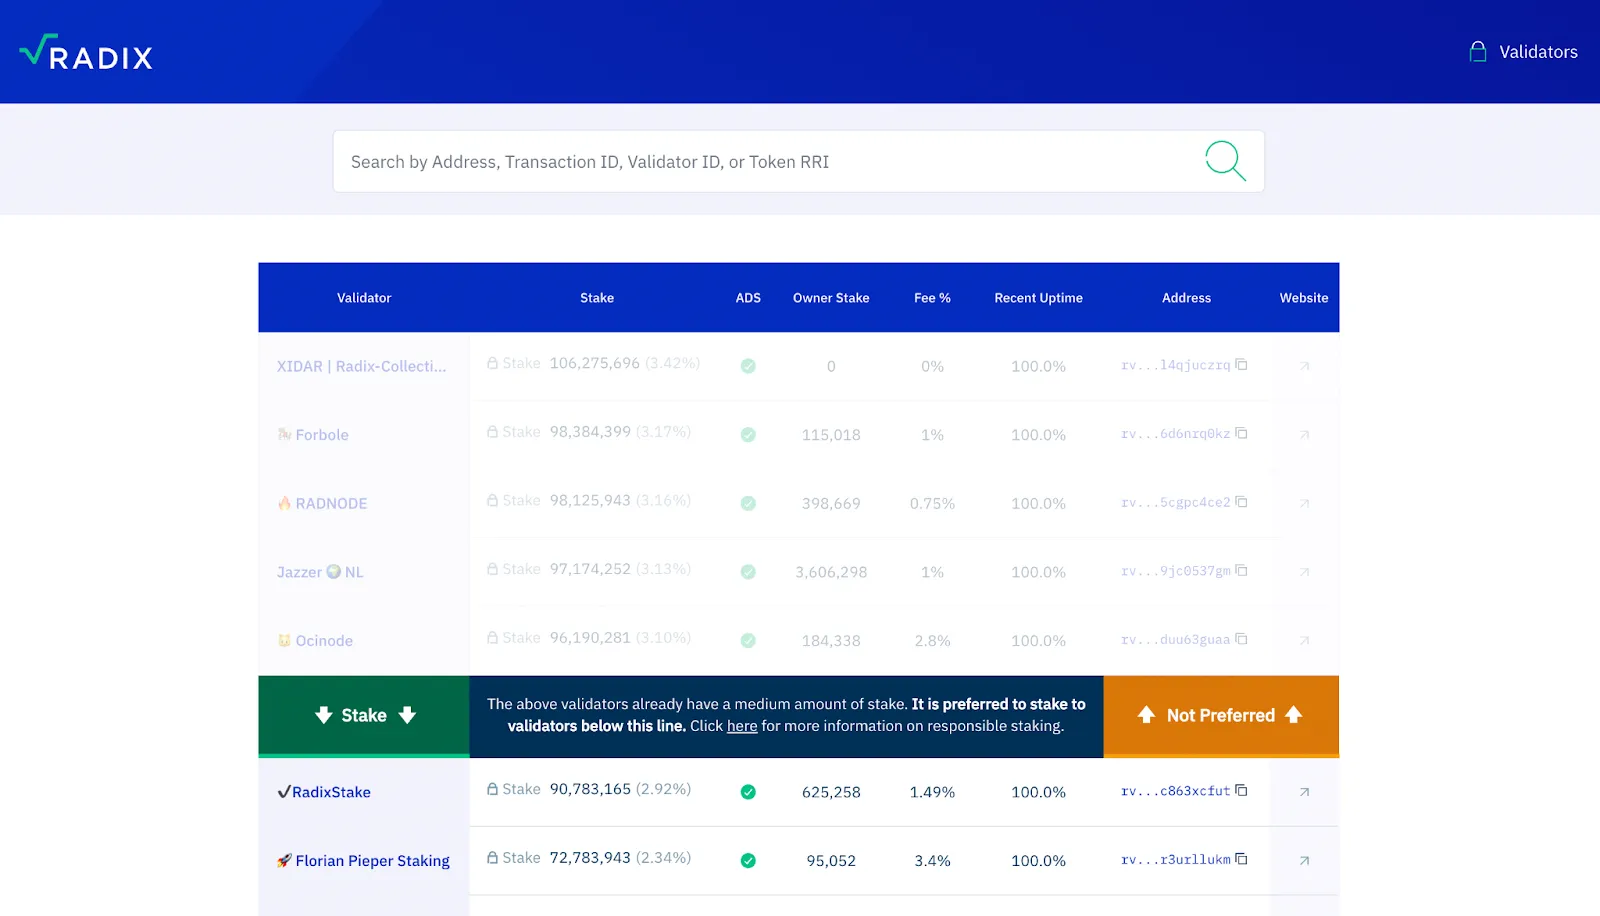
Here, you can view a list of all the validators who you can delegate your stake to
Deciding who to delegate to may be a daunting process, here are a few tips:
- The validator should ideally have 100% uptime.
- Delegate to the validator that has no fees or the least amount of fees. However, do note that the validator may decide to suddenly increase the fees later on. Also, there’s a 14-day unstaking period, where you don’t earn staking rewards. So keep this in mind if you decide to stake with a validator with no or fewer fees.
- If you have a sizable investment, split it between 5 validators just in case one does go down for some time.
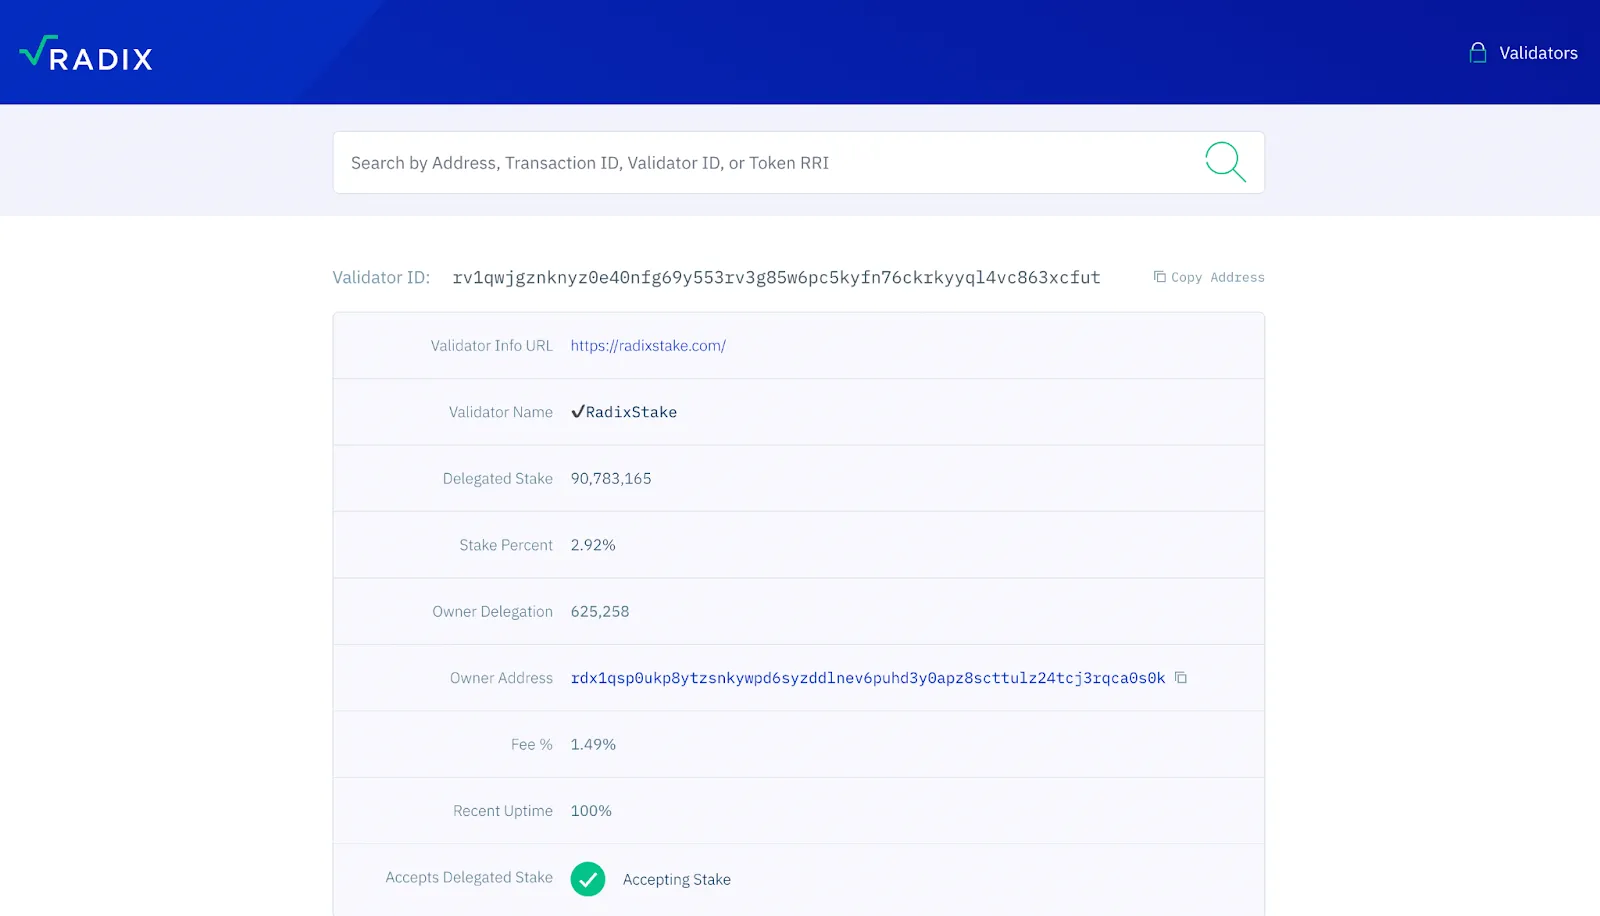
Clicking on a validator will open their profile, where you can view their ID (needed for staking with them), their website, fee%, recent uptime, and more useful info
View a few validators and compare their stats. Once you’ve made your decision, simply copy their Validator ID, and paste it into the wallet. Select the amount you want to stake with that validator, and confirm the transaction.
Make sure you leave some XRD in your wallet to account for gas fees.
That’s it, you’re all set now. You’ve successfully staked your XRD on the Radix network. It is important to note that your stake automatically compounds, and adds to your original balance. You can unstake any time, by going to the Stake & Unstake tab, selecting the Request Unstake option, and then simply unstake your stake.
.webp)


.webp)
.webp)


.webp)
.webp)

.webp)
.webp)
.webp)

.webp)
.webp)


.webp)

.webp)
.webp)
%20(1).webp)


.webp)
.webp)
.webp)
.webp)
.webp)


.webp)
.webp)


.webp)


.webp)


.webp)


.webp)


.webp)


.webp)


.webp)


.webp)

.webp)
.webp)

.webp)


.webp)

.webp)

.webp)


.webp)